My Work
Here is where my work will be displayed for you to see. I will be posting pictures of artwork, assignments, and projects I completed in class. In the process of doing so I will also be reflecting what I have learned while doing said assignment.
|
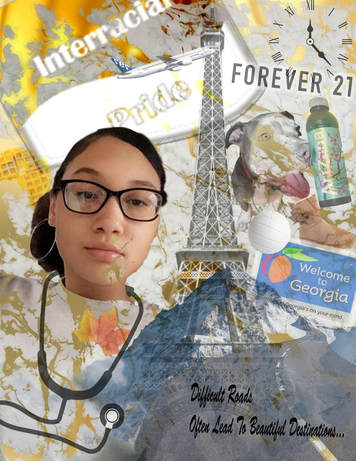
In class, over the past week or two I was assigned a Selfie project. In this project I had to create an image that includes a portrait of me and layers of images that describes me as a person in the background. This project what quite a challenge however I got it done and I am pleased with the results. Tools that I used to create this project would include the Typing tool to type out my favorite quote. Spot healing and Magic wand were very helpful in getting rid of parts of images I didn't want. Crop tool to crop the images, and the Blur tool to make the edges of the images less harsh. My selfie project can be shown to the left.
|
|
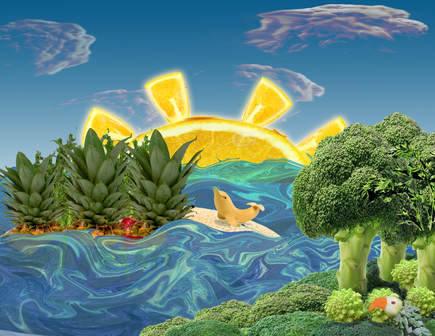
Over the pass class periods. I was assigned another assignment which was to create a landscape using only fruits and vegetables. It was very difficult to do and I struggled with a lot. My goal was to create an island in the middle of a beautiful ocean. To create this assignment I used many many tools and effects. For the water, I used the liquify tool to transform a watermelon to make it look like waves.I then changed the color to make it look realistic. For the clouds I used cauliflower and used a filter called pin light along with the smudge tool. To make shadows I used the brush tool and changed the opacity to make it as if the dolphin and trees have a shadow. I did this by making a new layer and lightly adding brush strokes under or around the image. I am satisfied with the results and to the left is my project.
|
|
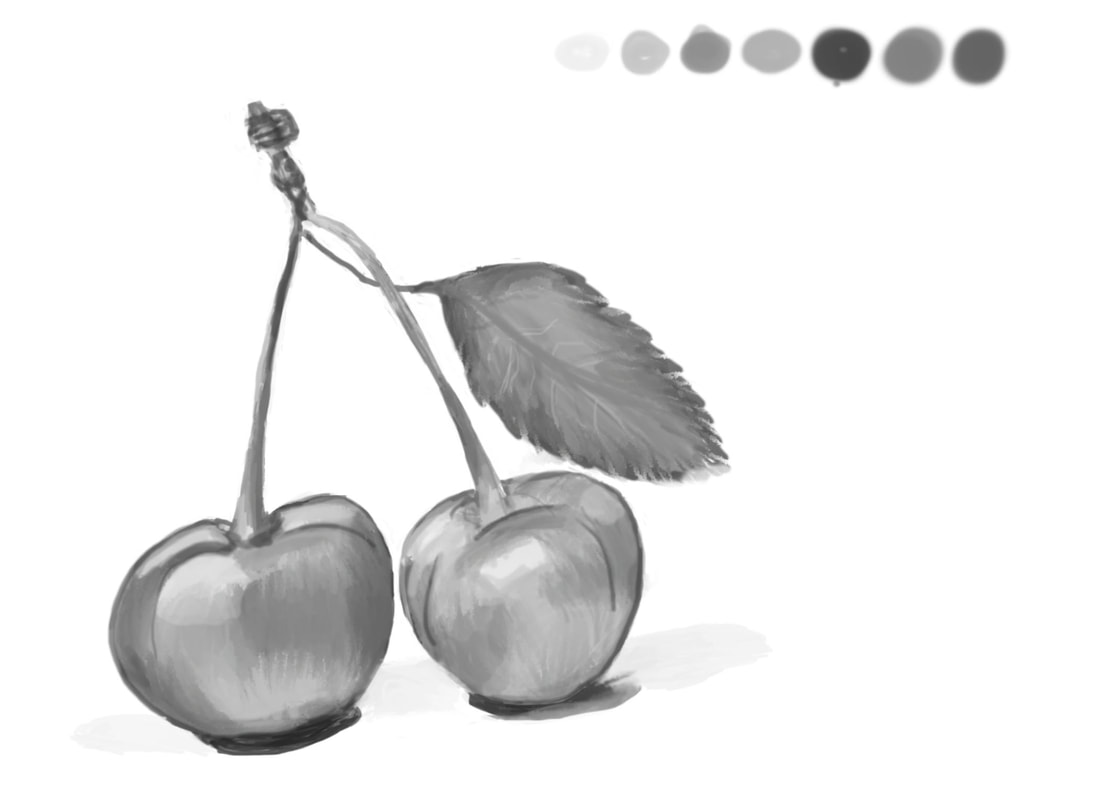
In my DMEA class, I was assigned a project. In the project I was assigned to choose a fruit or vegetable and draw it in grayscale. It was difficult but with the tools and steps I used it became easy. I first started with a sketch layer and tried my best to replicate the cherry. I then added another layer and took samples of the grey cherry and tried to make the basic color of the cherry. This layer was called underpainting. The last layer I added was called overpainting and in this layer I simple used tools like the brush and smudge tool to make finishing touches. The picture to the left is my project.
|
|
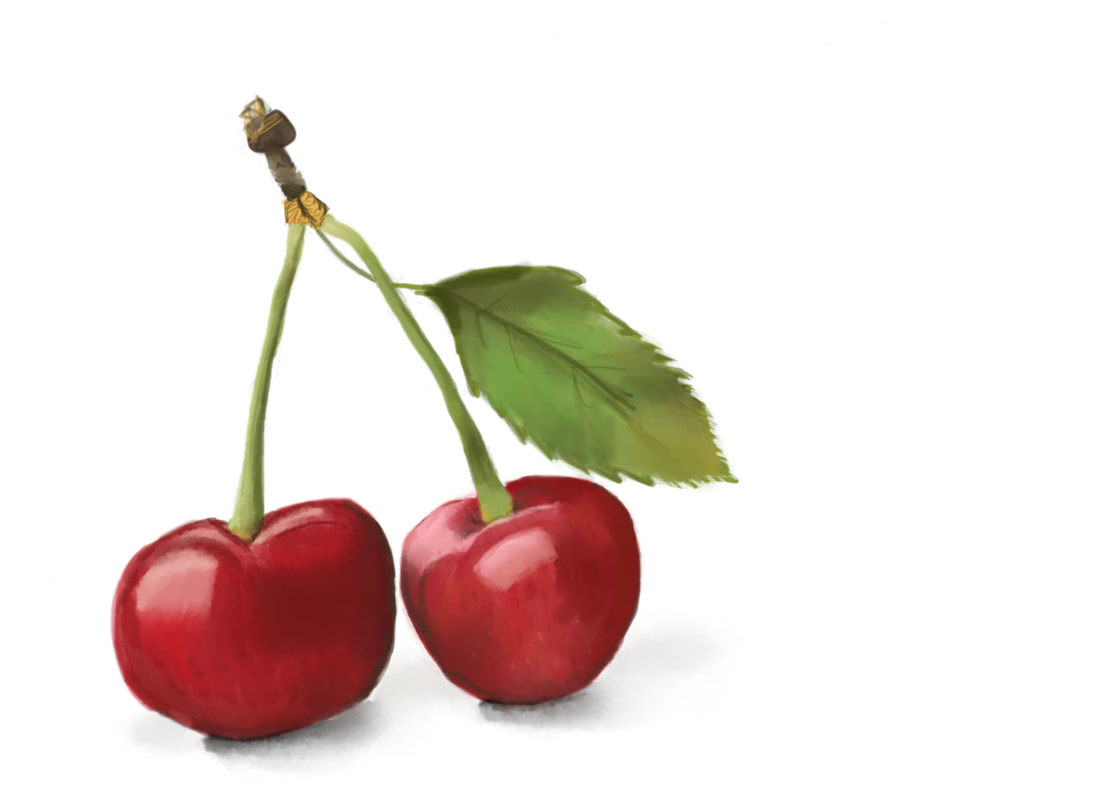
Just like my last assignment, I was instructed to paint a fruit or vegetable but in color this time. I used the same steps but in color this time. I had to use six different layers. They were called "background", "drawing", "underpainting", "overpainting", "details" and "shadows". In each layer I slowly started to develop my cherries into looking more realistic. I used tools like smudge tool, blur tool and brush tool to make my painting the way it is.
|
|
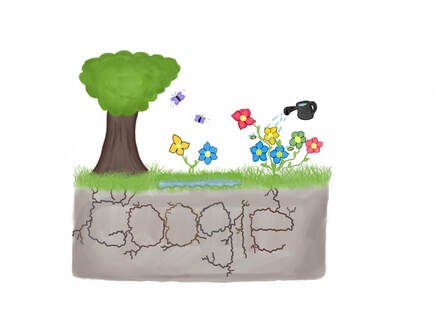
In my DMEA class, I was assigned to replicate the GOOGLE logo in a way to represent our dreams of the world when we grow up. To go along with the project, we were assigned to write a 50 word sentence describing the project. My sentence was: My theme was…”When I grow up...I hope nature can be recognized”. Now and days the world and the people who live in it are so brainwashed in their phones and computer screens. People go days without even taking a step outside to look at and enjoy nature. The word “GOOGLE” can be represented by the roots underground to the plants and trees above. On land, I have drawn blooming flowers, tall trees, green grass, blue waters, bees and butterflies. Every detail in my artwork represents the details in the world we fail to recognize. It is time we put our phones down and enjoy the nature around.
|
|
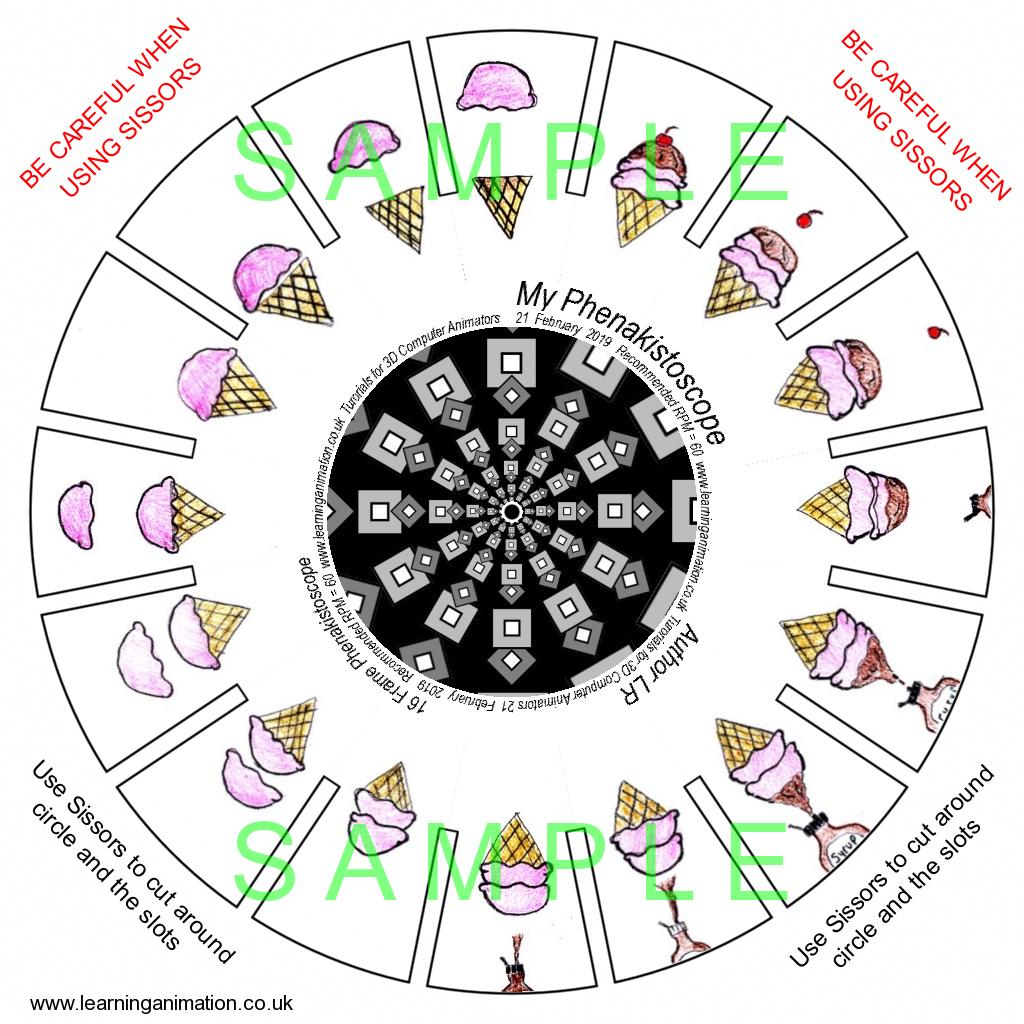
In my DMEA class, I was instructed to do a Phenakistoscope. This project was very fun and easy to do. I simply drew an ice cream cone being formed and repeated it a total of 16 times. It may sound like a lot but it wasn't. Click here to view my phenakistoscope.
|
|
I was assigned to create a Rainbow Strobe Animation using a picture of me, a pet or family member. A GIF is a file format used for web graphics. A Rainbow Strobe is simply flashing colors. To create this project, I used a picture of me and erased the background using the eraser tool. I then, added another layer and created my background. Using the Sketch> Stamp option, I completely morphed my image to black and white. Then, I created multiple frames and used color overlay to change the color of the image. With the different colored images back to back, I created a strobe GIF. This project was very fun and enjoyable to do.
|
|
In my DMEA class, I was assigned to create an emoji of myself. I was told to create an emoji of myself, and to do that, I used many tools and shapes. I used shapes to create my head, mouth, arm, and volleyball. I free drew everything else. To add shading, I used the gradient tool and slightly added it to my emoji to give it some shape. Once my emoji was completed, I turned it into an animated GIF. I simply created a frame, moved the ball up, created another frame, and moved the ball down. I then tweened the two frames to give it a look of it going up and down. Next, I copied the frames and pasted them so that I was able to reverse them. Reversing the gives the ball a look of going up and falling back down. I enjoyed this project.
|
|
In DMEA class, I was instructed to make an emoji that resembles a celebrity. I chose to create Rihanna. I used shapes to create her head, neck, eyes, and arm. I free drew everything else. It was very difficult to draw her mouth, and with the help of different layers, I was able to do it. I used many tools when creating this project like shape tool, smudge tool, and gradient tool for shading. It does't look quite like Rihanna but I tried my hardest and I like my results. To animate it, I moved her arm back and fourth as well as the music notes to make it like she is singing.
|
